Introducing BioWF - Workflow Bioinformatics Designer
One of the projects that was really interesting was Trident - https://tridentworkflow.codeplex.com/. It provided a graphical designer based on Windows Workflow 3.0 to create scientific analysis applications. The .NET Bio team created some activities to introduce bioinformatics into that platform and it was a sample application that was shown off in some of the training sessions. Unfortunately, WF 3.0 was deprecated when .NET 4.0 shipped (and replaced by a completely different version of Workflow!), and the TSCB project just went dark. It also was quite heavy and slow having requirements on SQL server and some services to actually execute the workflows themselves.
But I really liked the idea of creating simple analysis programs with WF so I took the concept and created a new project - BioWorkflow which uses .NET 4.5 and .NET Bio 1.1 to provide a similar capability. It has two parts to it:
- A GUI designer which re-hosts Workflow 4.5 and provides access to a set of pre-defined activities and the core WF activities. You can create, edit and save workflows to XML based files.
- A console based runner which can take a persisted WF and execute it providing both input and output capabilities.
Here’s a screen shot of the GUI app when it is first started:
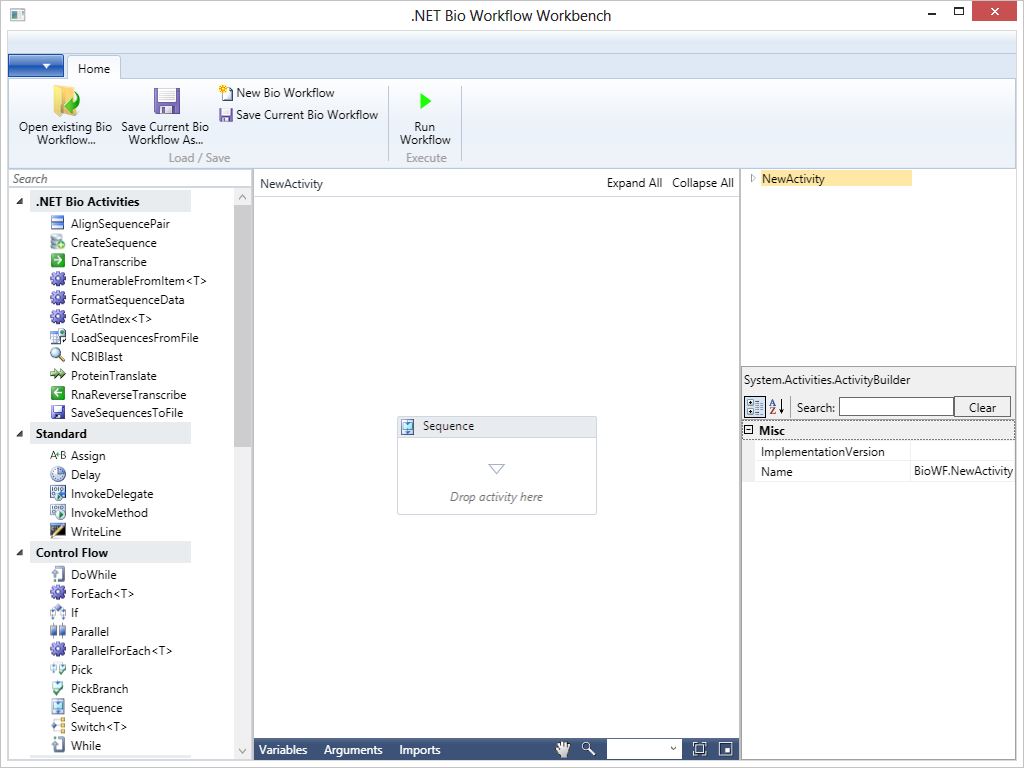
You can then drag various activities from the toolbox on the left. Each activity can be selected and have properties changed in the property explorer on the bottom right of the screen. As an example, let’s create a sequence and save it to a FASTA file:
-
Drag the
CreateSequenceactivity onto the design surface (right where it says “Drag activity here”. It should have some validation errors which show up: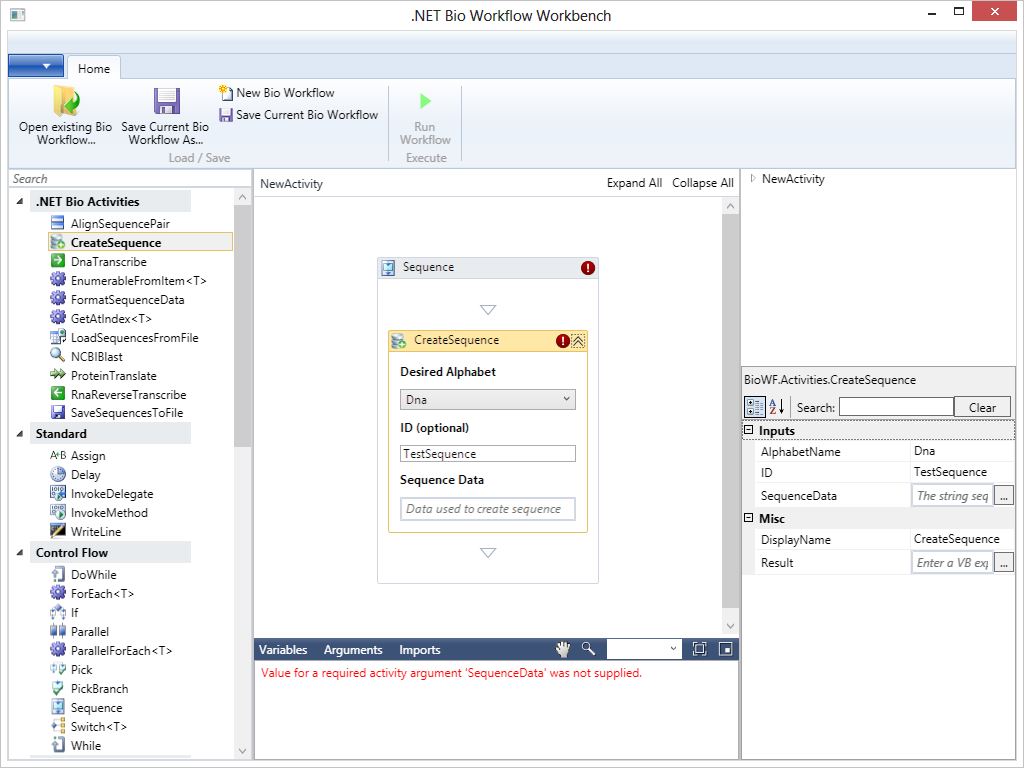
The validation errors are shown both on the item and it’s parents - as well as in a list at the bottom of the application. To correct the error, you need to add some sequence data - this can be supplied as a variable, parameter or literal string which we’ll use here.
-
Type “AAA-CCC-GGG-TTTT” into the sequence data box. Make sure to include the quotes. Once you tab out, the validation error should disappear.
The
SaveSequencesToFileactivity is what we want to use to write out sequences, but it takes anIEnumerable<ISequence>as input - what we’ve created is a single sequence. That’s why there is anEnumerableFromItem<T>activity. This takes a single item and generates an Enumerable sequence from it. -
Drag the
EnumerableFromItem<T>directly below theCreateSequenceactivity. It will prompt you for the type of enumerable to create: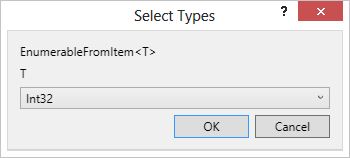
-
Select the drop-down and use the “Browse” functionality to show all the known assemblies. You can use the search box - type
ISequenceand it will narrow the search.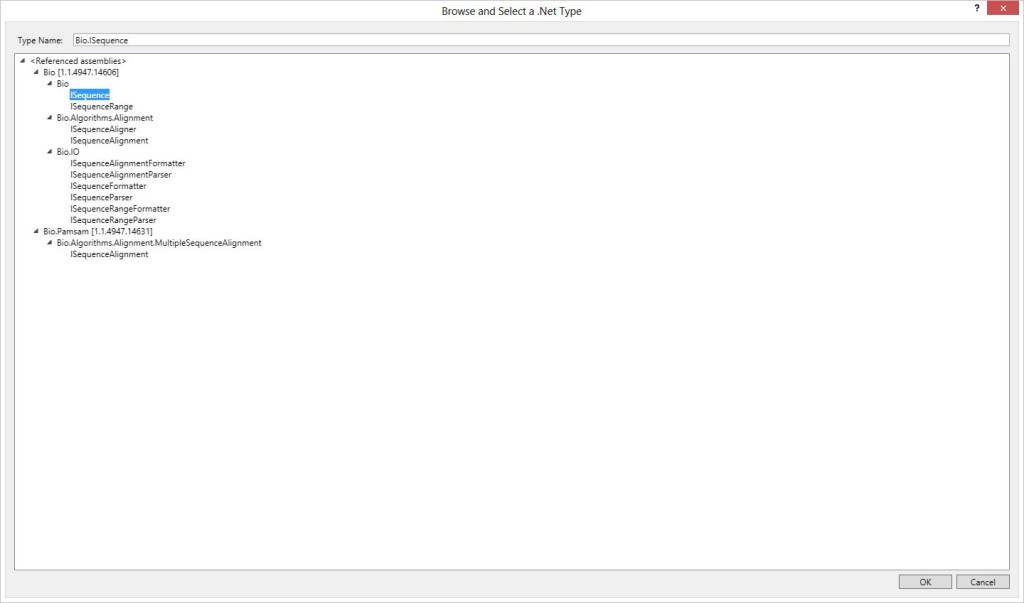
-
Select the
Bio.ISequenceobject and click OK. Next, we need to connect the output from theCreateSequenceactivity to the inputs of theEnumerableFromItem<T>. This is done through variables. -
Click on the Variables button at the bottom of the window to open the variables section.
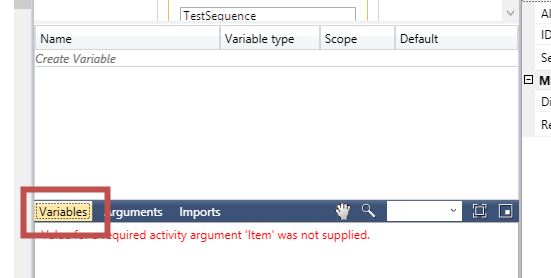
Next, type the name “sequence” into the name field, and select Bio.ISequence from the type - this has been populated because we used it earlier, but you can always browse for other types when necessary. The scope should be the outer Sequence activity so it’s visible to all the children. You can also initialize it, but that’s not necessary (for example you could type ‘New Sequence(Alphabet.DNA, “ACGT”)’).
-
Type the name of the variable into the Result field for the
CreateSequenceactivity - this in the property explorer. A future version might put that right into the designer box for easier access and also allow a drop-down to select existing variables.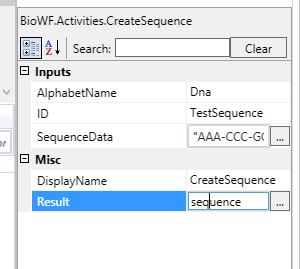
-
Add a second variable to hold the results from the
EnumerableFromItem<T>. This will be of typeIEnumerable<ISequence>. Select System.Collections.Generic.IEnumerable from the list first - then it will prompt for a second type: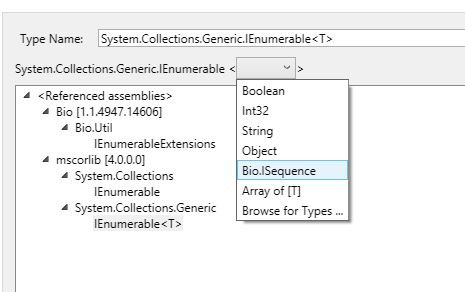
-
Finally, drag the
SaveSequencesToFileactivity - set the filename to a string literal (remember the quotes) and the sequence input to the sequences variable you created in step 6.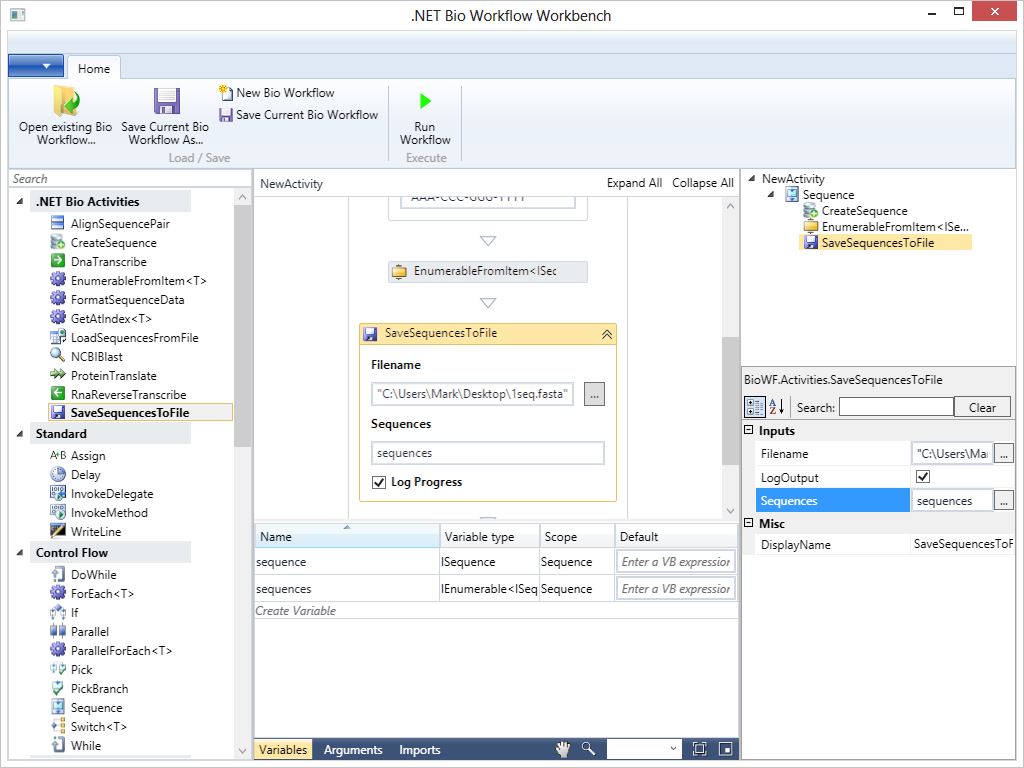
The final completed workflow should look like this:
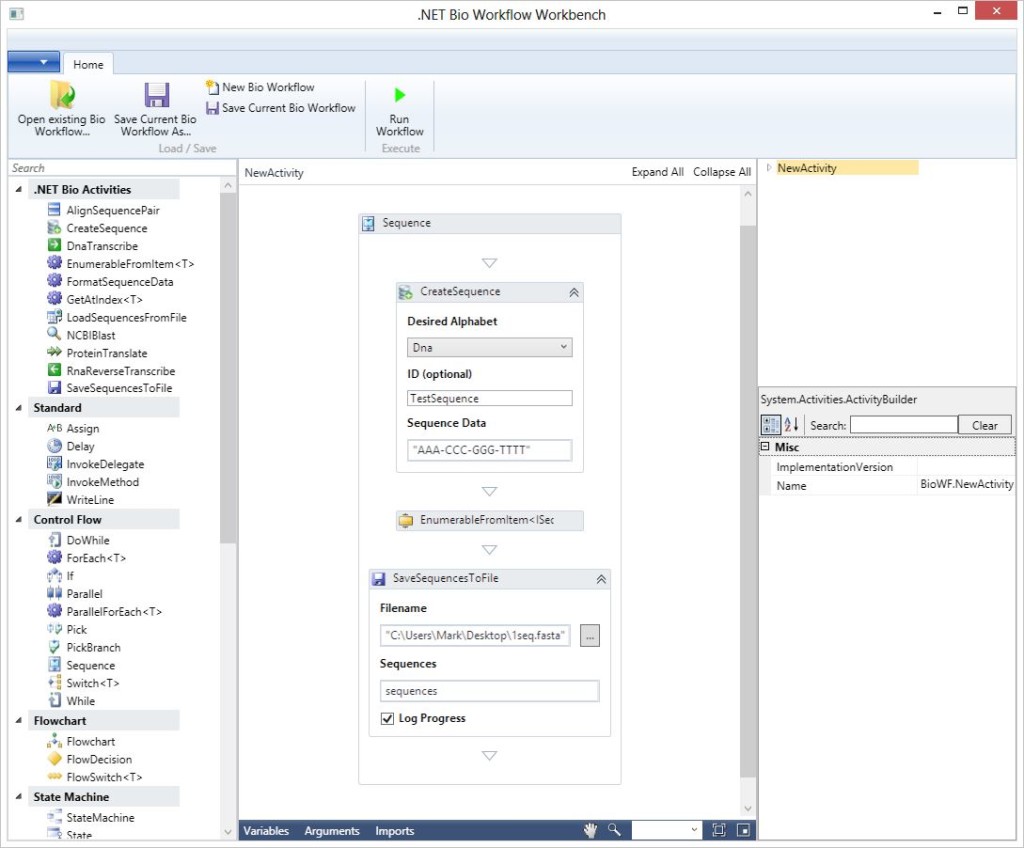
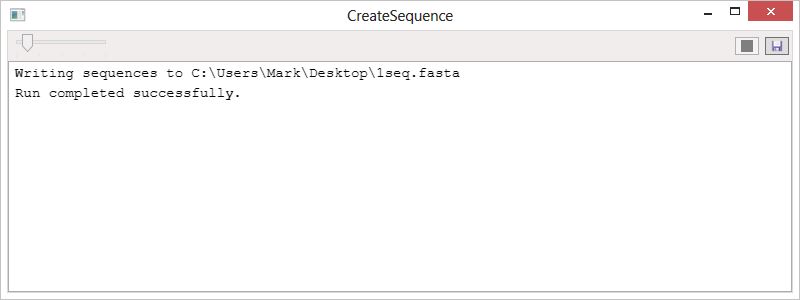
Save the workflow to a file by clicking the “Save” or “SaveAs” buttons in the ribbon. Then you can execute the workflow by clicking the “Run” button. It will popup a new GUI with the output from the workflow. If any inputs (arguments) are required they will be prompted for first and then it will execute.
This is very much an alpha right now - there are some little bugs here and there and it needs to have more comprehensive activities added, but it’s a good start. If anyone is interested in helping out, adding features or just using this then please drop me a line!
Feel free to download the source and build it - you will need Visual Studio 2012 (any edition) and Windows 7 or better (where .NET 4.5 is supported).